Cleaning my keyboard
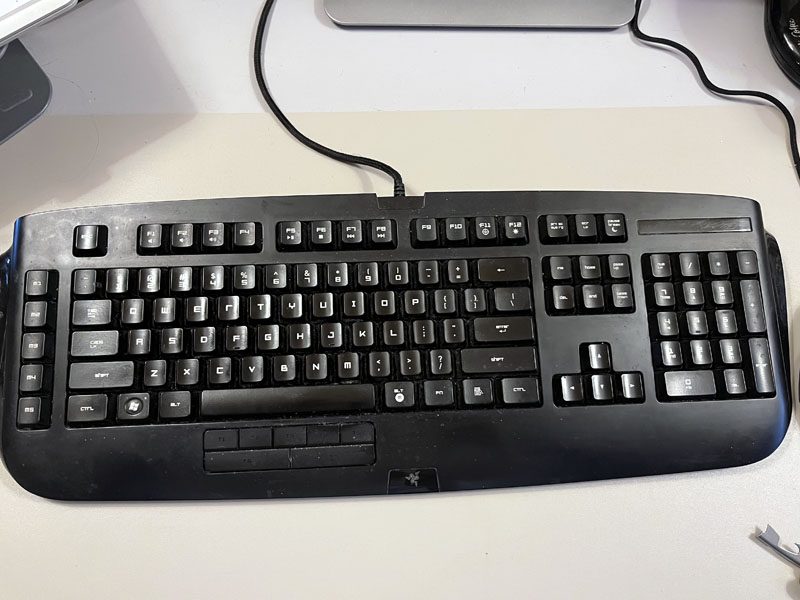
I celebrated two years of working from home by cleaning my keyboard last weekend. I do it once a year or as needed after a spill. Because I spend 8+ hours a day at my keyboard and eat my lunch at my desk some days, it gets pretty grody. My keyboard is a Razer gaming keyboard, but for any keyboard where you can pop the keycaps off and replace them safely, this should work for you as well!
(I originally storied this on Instagram, but I’m archiving it here because this place should always be the #1 source of my own content. I forget that from time to time.)
I am not responsible for any damage you may incur by cleaning your keyboard. Do not try this on a keyboard where the keycaps don’t easily pop off. Do not try this on a keyboard that your employer owns.
The very first thing you want to do is take a photo of your keyboard. You may think you know where every keycap goes, but once you get past the letter keys, things can become very confusing. Insert/Delete/Home/End/Page Up/Page Down? Or Home/End/Insert/Delete/Page Up/Page Down? Take a photo. It’ll also be a nice “before” shot.
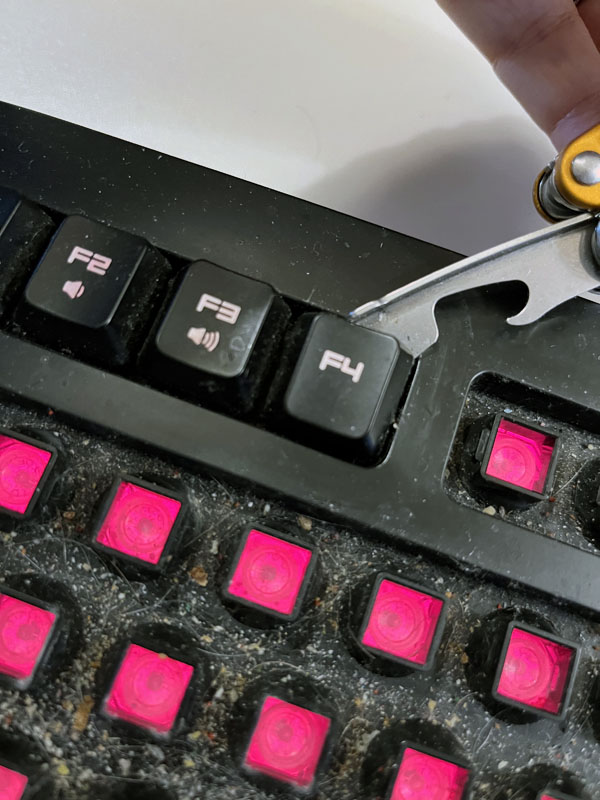
Either turn off the computer that the keyboard or unplug your keyboard from the port. Now start popping off your keys. You can use any thin tool to help you out. I’ve used a paperclip, I’ve used a butter knife, but this time I used the can opener tool on a Leatherman. As long as it’s not sharp. You don’t want to cut yourself or slice what might be under your keycaps. It gets easier after the first key.
By the way, did you know that people are creating beautiful custom keycaps out of resin? The world may be terrible but beauty and creativity is always around and always staggering.
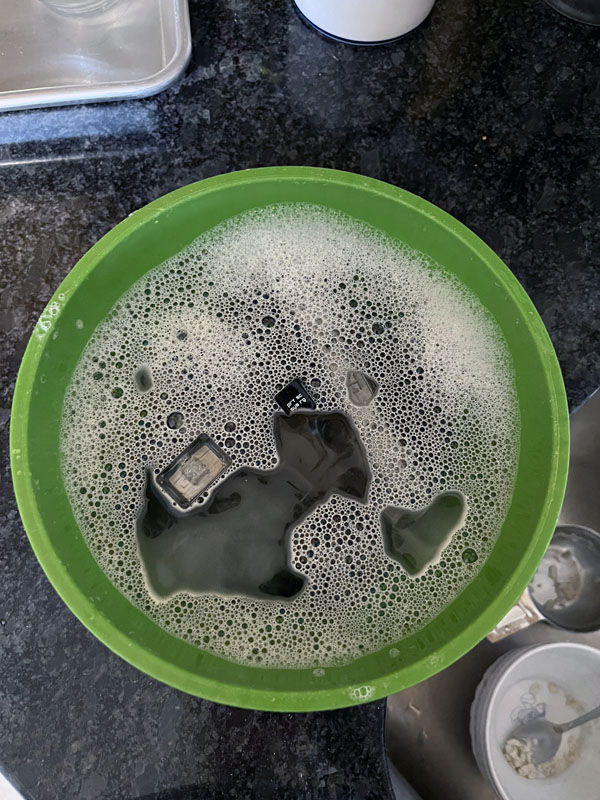
I add two drops of dish soap to a bowl and fill it with warm water. I’m a fan of Dawn because of the baby ducks on the label. I dump the keycaps in there, agitate them a little, and let them soak while I tackle the area beneath the keys.
If you are the type of person who loves pulling hair clogs out of drains, this part is going to thrill you. All of the gunk under the keys needs to go. But don’t be skeeved, because it’s mostly crumbs from what you’ve eaten, and your own hair/eyebrows/eyelashes. Turn the keyboard over and tap it firmly. Use cotton swabs and rubbing alcohol to scrub the dirt away. Use a microfiber cloth to tidy up the outer areas.

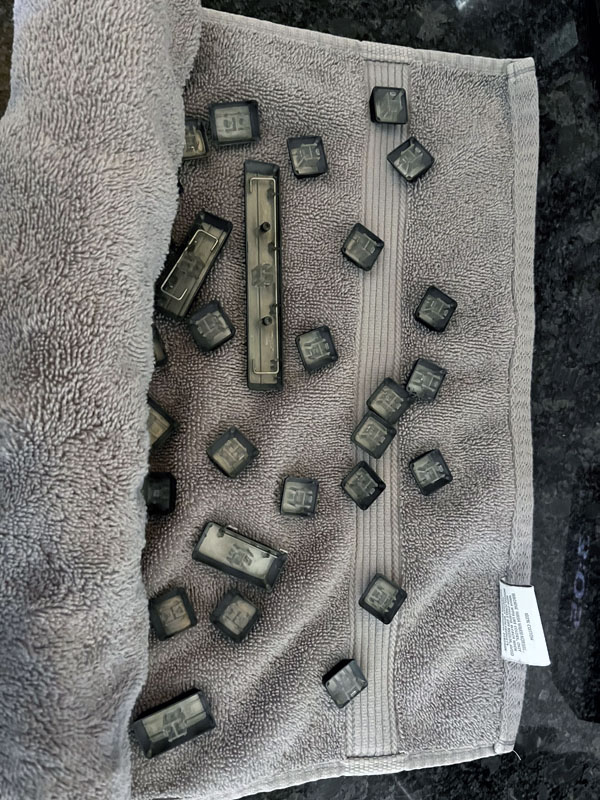
Pour the keycaps into a colander and rinse well. To dry them, put them on a towel and roll the towel up like a jellyroll. Squeeze the towel to get as much water off of the keycaps as you can.
This is where the photo of your intact keyboard comes in clutch. But also, use your judgment. See how that key doesn’t look right? I thought it was the E but it was actually the M.
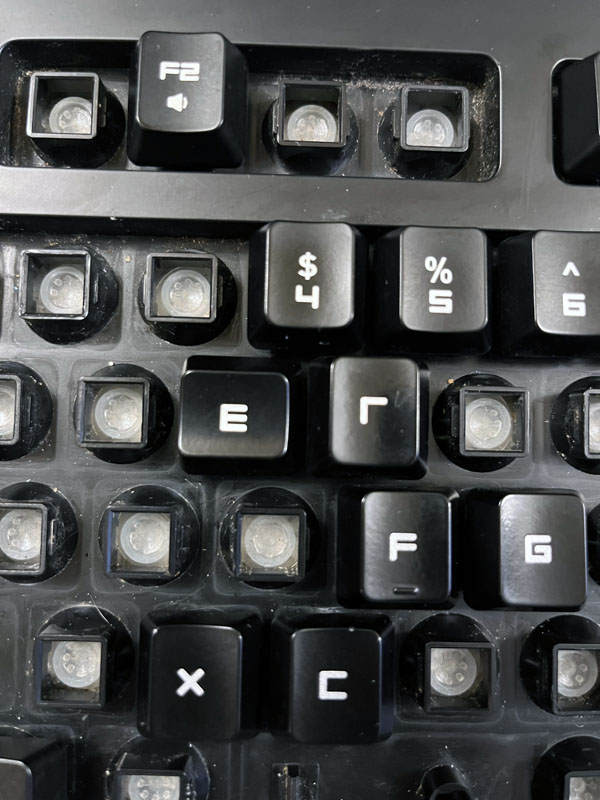
(I went back in with a Q-Tip after this and cleaned more gunk.)
The soapy water will have lifted most of the dirt and grime, but you’ll still have to spot-clean some keycaps as you replace them.
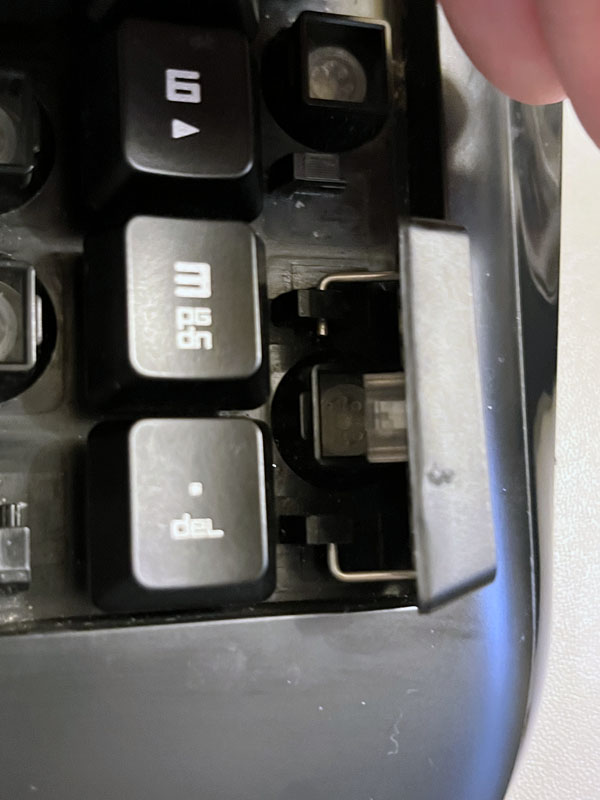
Some of the larger keycaps have metal bars under them. Those bars help with balance and bounceback. The key (ha!) to replacing those is to place the metal bar beneath the plastic tabs that are on the keyboard. The ends of the bar have to stay beneath the tabs while the keycap is lifted and clicked back into place. If the metal bars aren’t placed correctly, the keycap will not feel right when you press it.
Once all of the keycaps are replaced, plug everything back in, open your favorite text editor (or good old Notepad) and give it a test run.
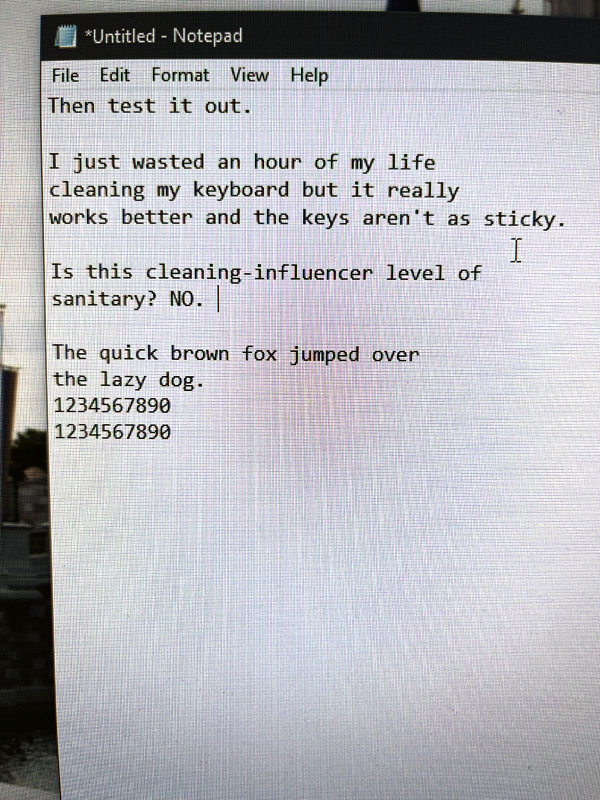
Et voila!

Is this as clean as it could be? No. I’m not a housekeeper on the level of the cleaning influencers on Instagram or Tiktok. But it performs much better when it’s cleaner.
I ended up removing a Dorito’s worth of Dorito dust and enough DNA to implicate me in every homicide in New Jersey.
Good luck!
Need some more email in your life? If you’re a regular reader but forget to check in, you can subscribe to a once-a-week email with links to the week’s posts! Click here to sign up!