A while back I had pinned a trio of ceramic ghosts that I wanted to buy from Etsy. They were adorable. When I went to find them, instead of going back to Pinterest (to be honest I forgot I had pinned them) I searched Google for “clay ghosts” instead of “ceramic ghosts” (it’s been a very scattered September) and one of the top results was a link to a tutorial on Why Don’t You Make Me on how to make some yourself.
I’m always up for a low-stakes, sedentary challenge. I bought some oven-dry clay at Michael’s and had at it.
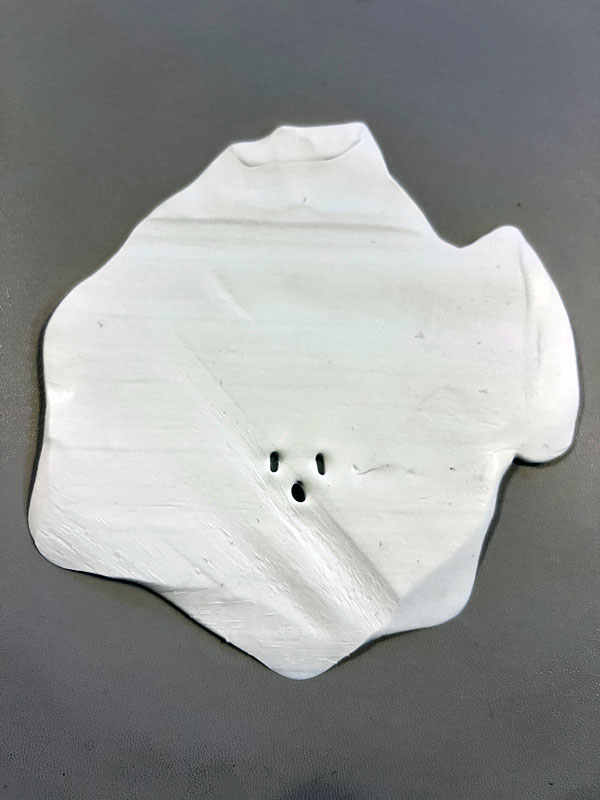
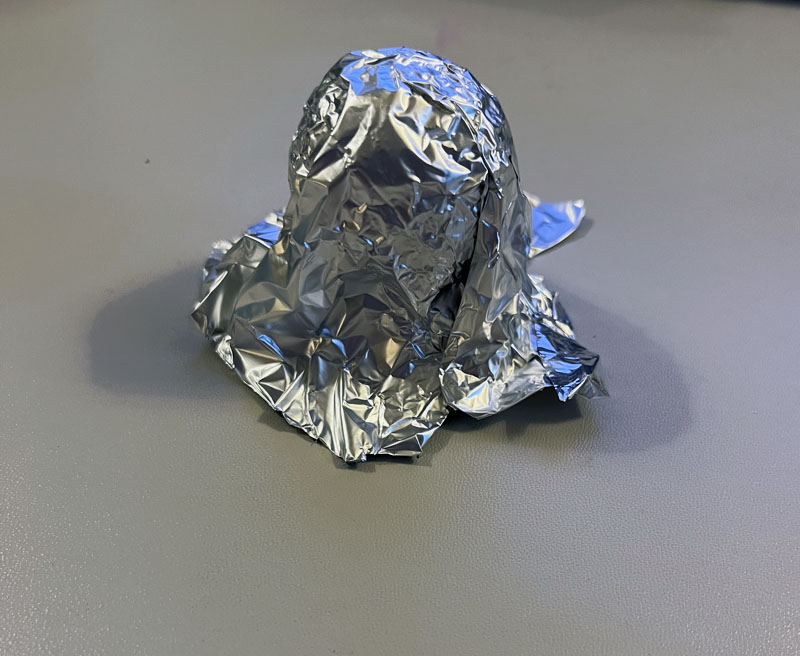
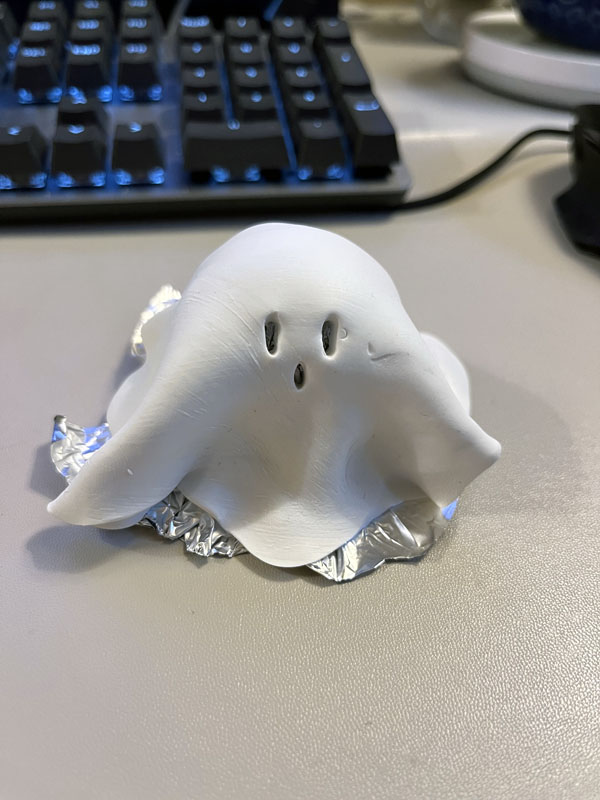
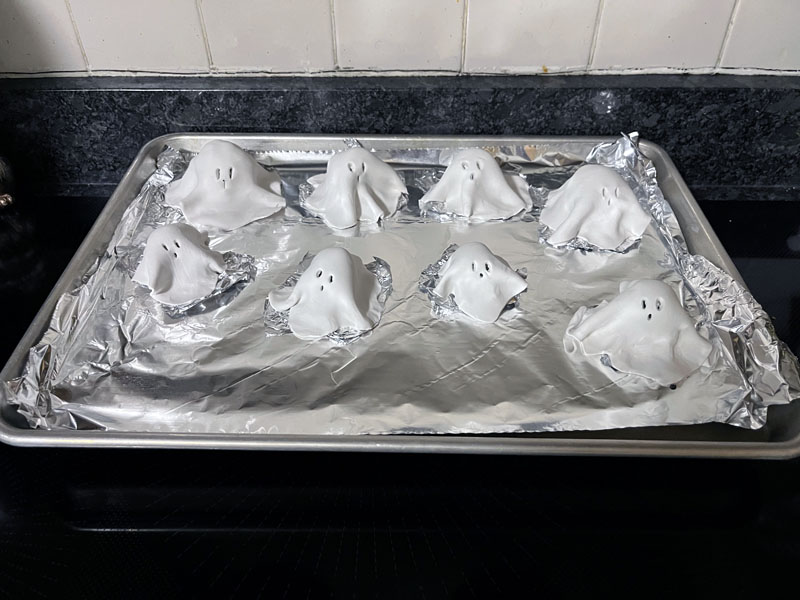
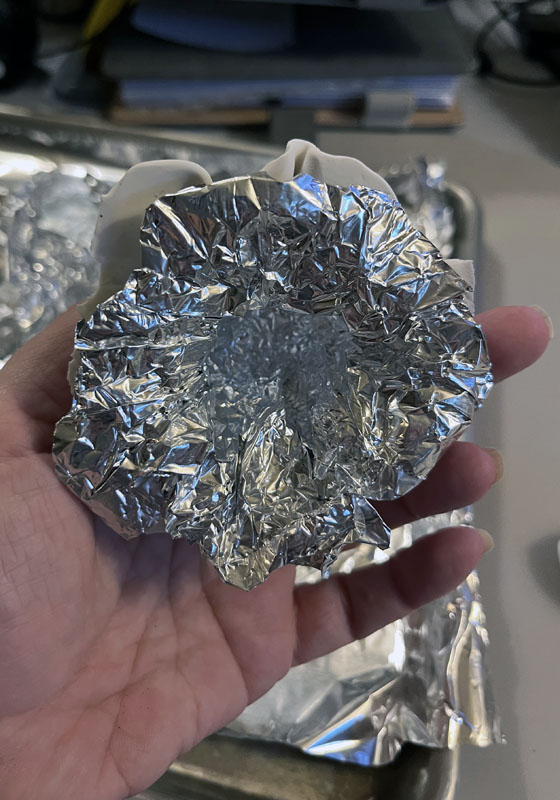
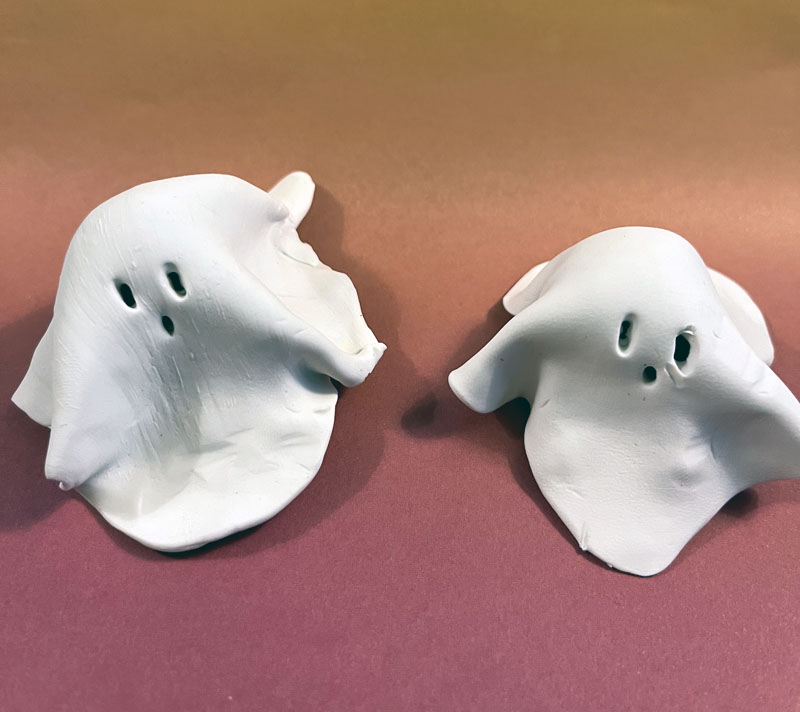
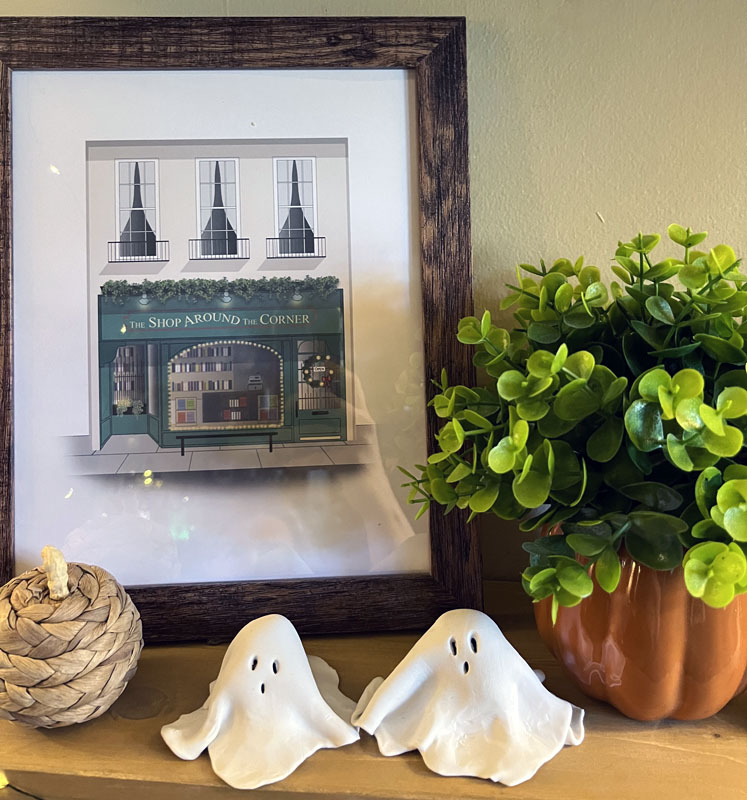
A few notes:
- I bought 1 pound block of Craft Smart Polymer Clay at Michael’s for $12.99. Your girl Kim is cheap and didn’t pay the $1 for Sculpey brand.
- I used 2/3 of that block for eight ghosts.
- I didn’t have any clay tools so I used a wooden dowel I found in the garage to roll out the clay and a glue applicator syringe tip to poke out the holes.
- If you need to trim the flat clay “rounds,” use something sharp or else the edges will be flaky after baking.
- Oven-bake polymer clay does not harm your oven. The scent of baking clay disappeared as soon as I removed the ghosts from the oven.
- Fingerprints will show up, so smooth them out before baking. And if you’re new to having long fingernails, smooth out the gouge marks you accidentally made.
- I bet more talented people could make ghost ‘arms’ that circle out toward the front and hold a little orange clay pumpkin. You should try that.
- I bet super-creative people could find glow in the dark polymer clay and make glow in the dark ghosts!
- They’re not indestructible so I’ll pack them carefully when the season is over.
You should try this! You can do this!
Need some more email in your life? If you’re a regular reader but forget to check in, you can subscribe to a once-a-week email with links to the week’s posts! Click here to sign up!


