January 2026 cards: Snow one like you
What kind of card do you make in January, after you’ve packed away your red and green supplies? If you’re me, you will always and forever uncreatively go for snow.
I have a notebook (I have several notebooks. I have too many notebooks) where I jot down ideas, quotes, and lists. If you polish it up, it’s a commonplace journal. If you structure it better, it’s a bullet journal. In this notebook, I had an idea for an image peeking out of a square cutout on the card front. I had another idea for a snowflake on top of a blue splotch of watercolor.
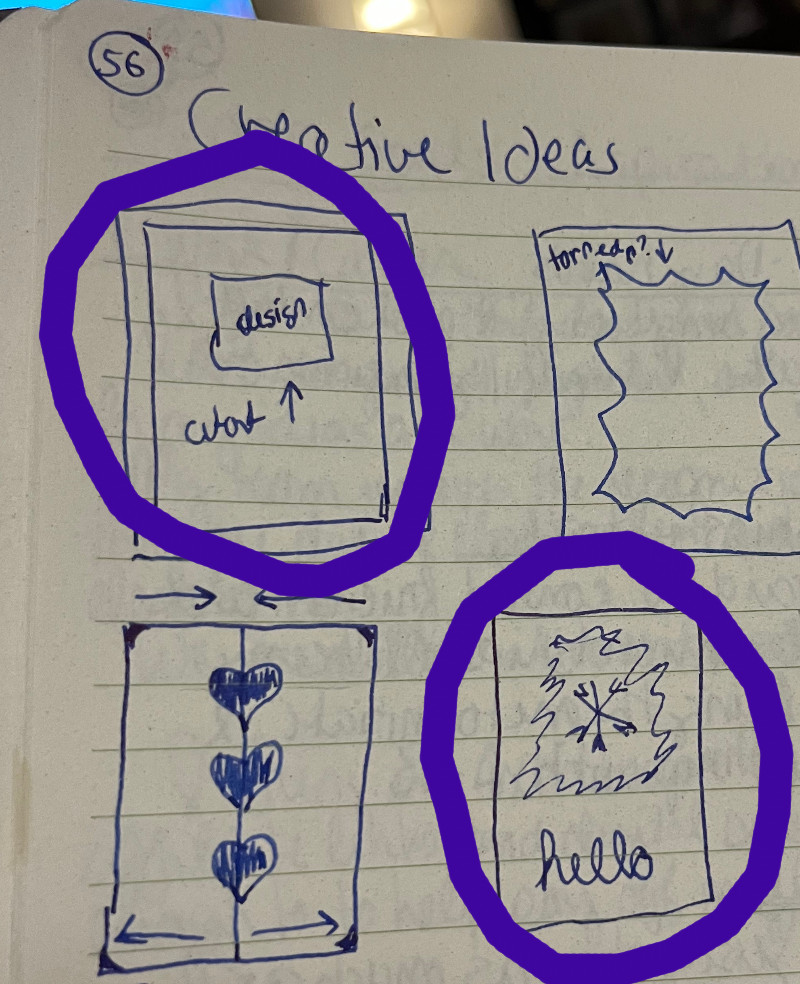
I decided to combine the two ideas, and have a snowflake peeking out of a square cutout. I’d keep it simple, in blue and white.
Simple, right? Right.
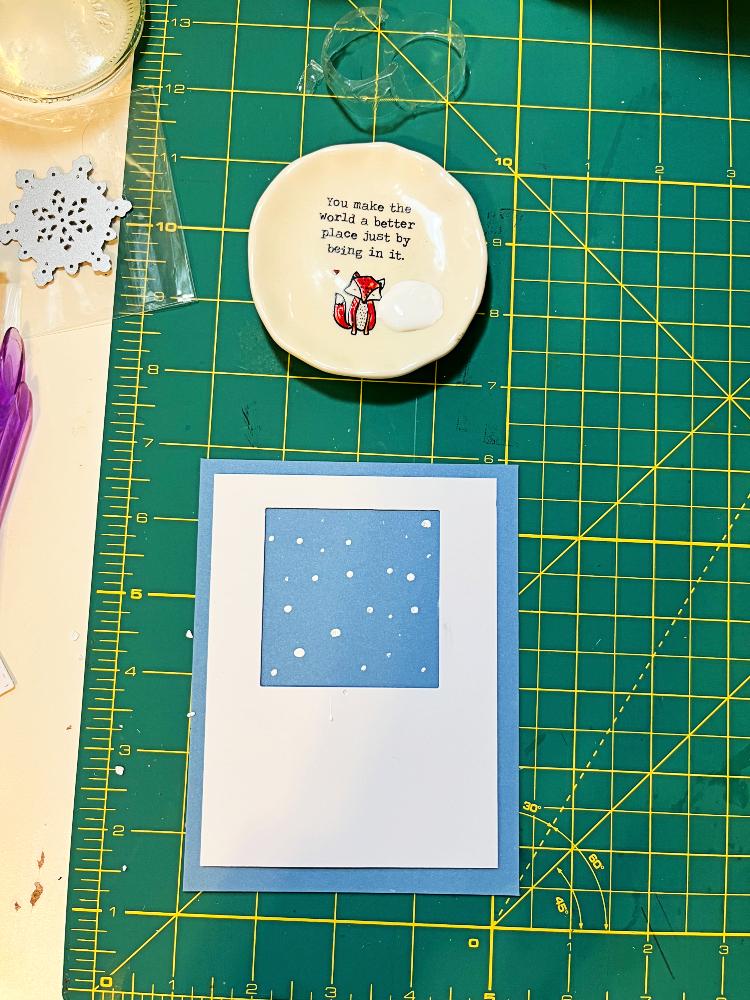
I cut my blue cardstock and white cardstock down to size (4 1/4″ x 5 1/2″ for the blue, 3 3/4″ x 5″ for the white). Using a square die and my Big Shot, I cut squares out of the upper half of the 13 white panels.
I placed a white panel onto a blue one and immediately thought: this looks plain. But maybe it would look better with a snowflake?
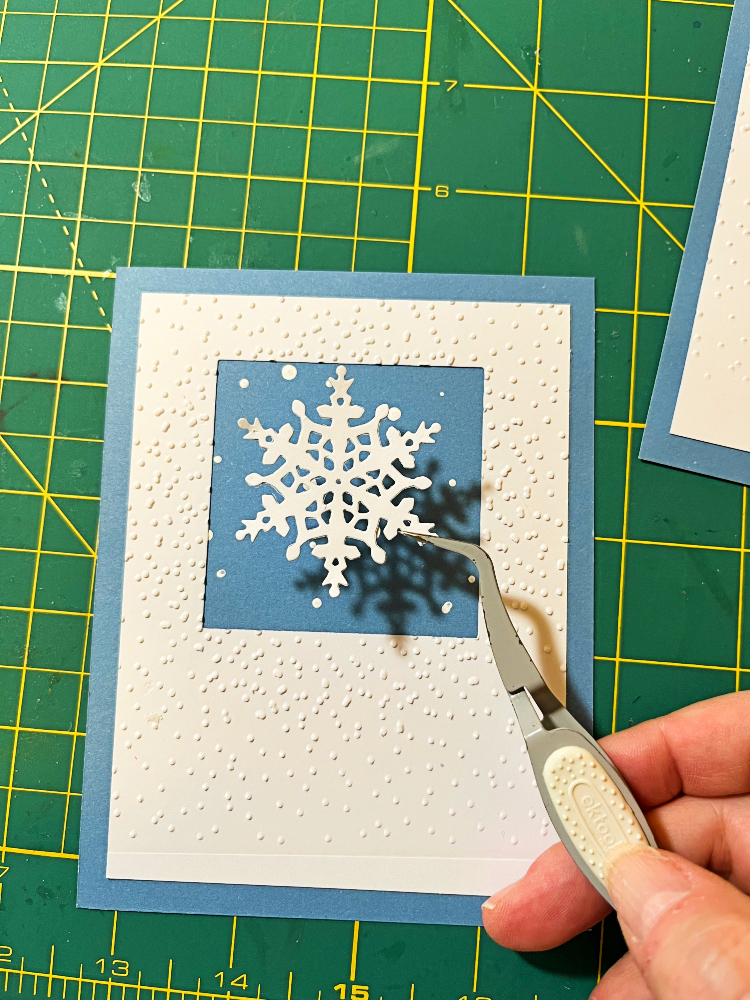
I cut one snowflake out and popped it into the square. Still plain. Maybe it would look better with … more snowflakes?
Then I got the bright idea to splatter white acrylic paint onto the blue panels to mimic snow! I dipped the tip of a paintbrush into the paint and sharply tapped the brush on my finger. I hated it. The paint was too thick and the splatters looked nothing like snow.
Luckily, I have dotting tools from a nail art kit that I haven’t used yet. I dotted paint onto the panel in two sizes to add dimension: larger dots look like they’re closer, smaller dots look farther away. And suddenly it looked great! So I dotted 12 more blue panels.
While those dried, I reexamined my white panels. Still plain. And since texture fixed the blue panels, maybe some texture could improve the white ones too.
I pulled out an an embossing folder (I have several embossing folders. I have too many embossing folders.) featuring dozens of tiny dots radiating from a large circle. I positioned the card into the folder so that the circle on the folder overlapped the square cutout. And it looked great! So I embossed 12 more white panels.
And that’s when I realized “simple” left the project hours ago.
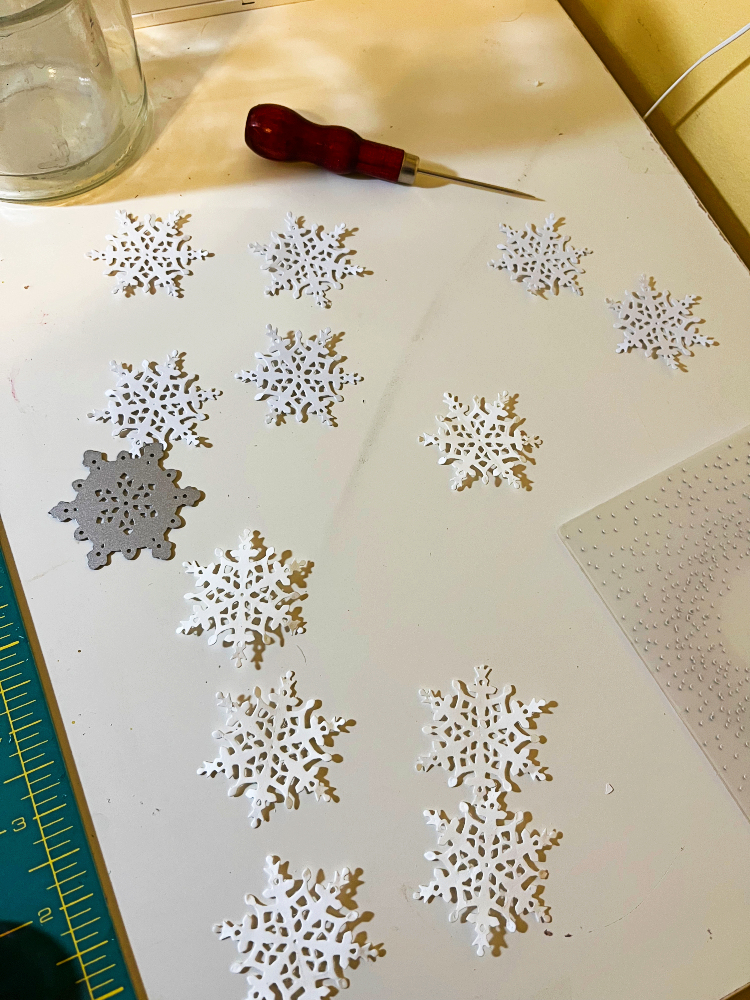
I taped the white panels onto the blue ones and moved on to cutting 12 more snowflakes. I used a thinner cardstock for these, which meant they sometimes got stuck in the die. I had to delicately remove each snowflake from the die with offset tweezers and make sure every little hole was punched cleanly.
Time to glue! I used glue with a precision tip to coat the backs of the snowflakes and carefully placed them onto the dotted backgrounds.
From time to time I share card-making progress in Instagram stories. I ran a poll asking people to vote between “Happy New Year” or “Snow one like you” as the sentiment.
The pun won.
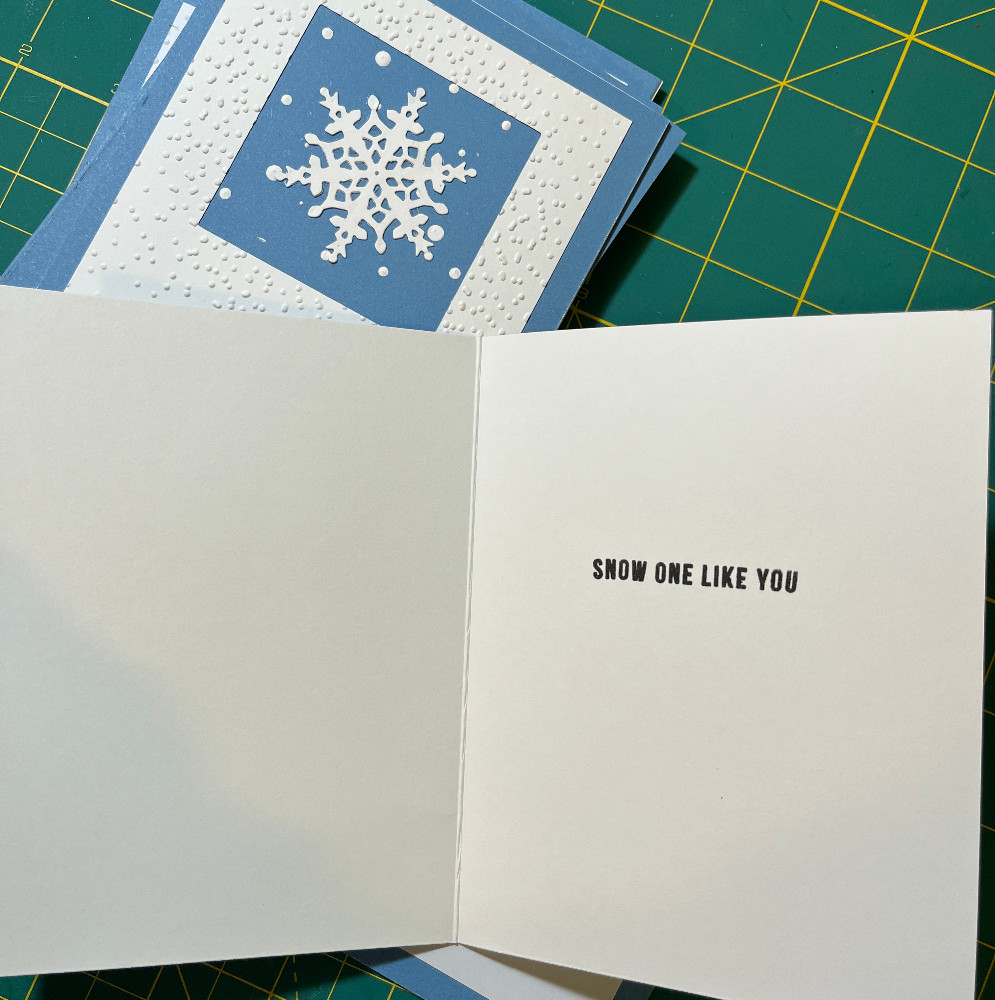
And then after some stamping and a lot of taping, the January cards were finished!
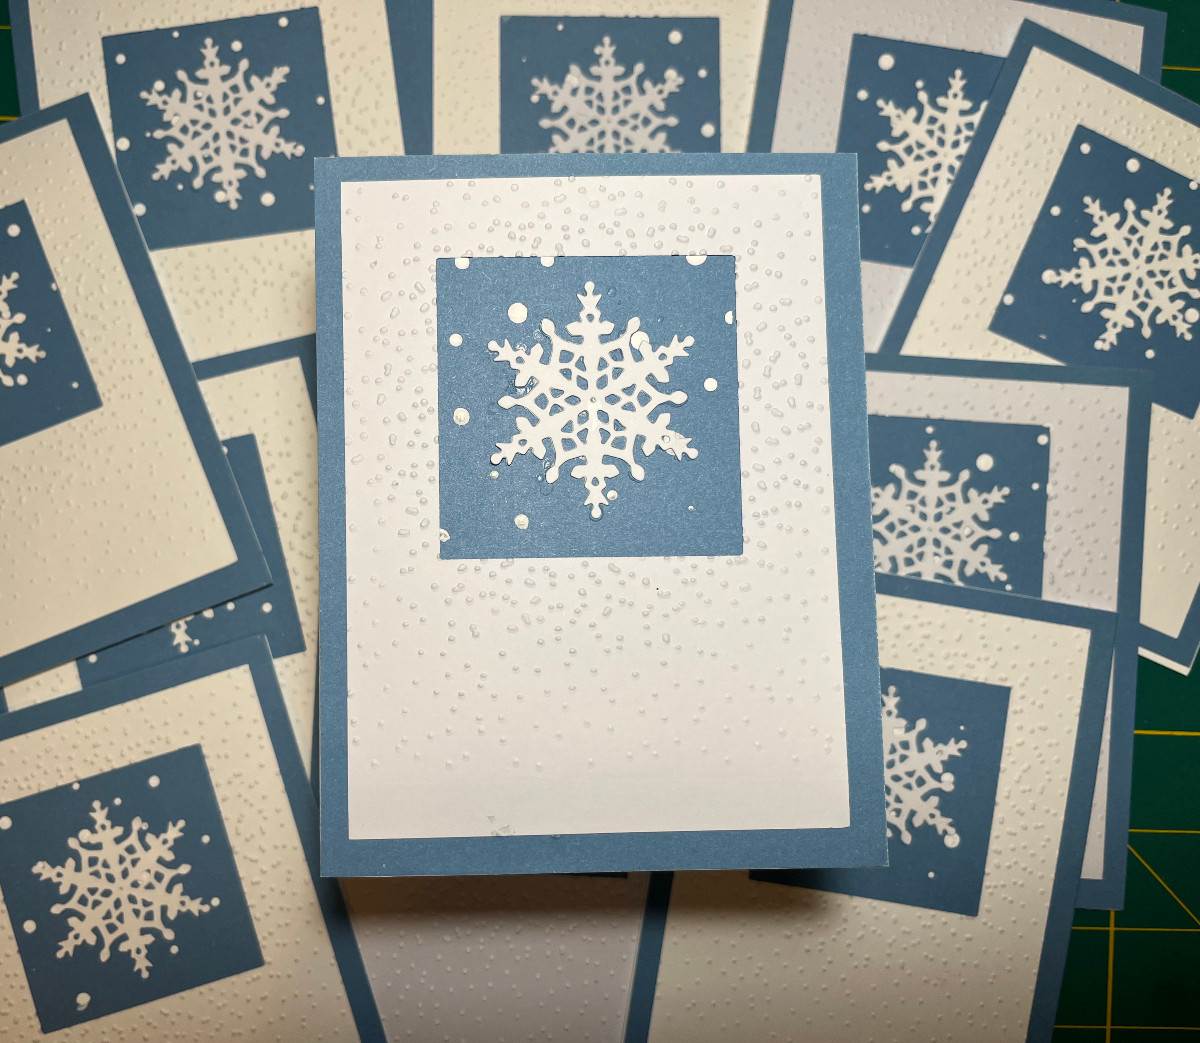
She may look a little simple at first glance but she’s a complex, multimedia wonder. I think favorite part is how the embossed dots echo the painted snow dots.
If you want to see the cardmaking tools and supplies I reach for most often, I’ve collected them in one place on Benable. Some of them are affiliate links, which means I may earn a small commission at no additional cost to you.