If card making is your hobby of choice, December is your Super Bowl. There is no shortage of ideas and inspiration. But there is pressure, because by now, people know you make cards.
I usually make 12 or 13 cards a month, but because I (gleefully) signed up for two separate card exchange lists, I knew I had to up the ante. I also knew I had to start early. I began on November 15 and mailed them on December 7th, ultimately making 30 cards.
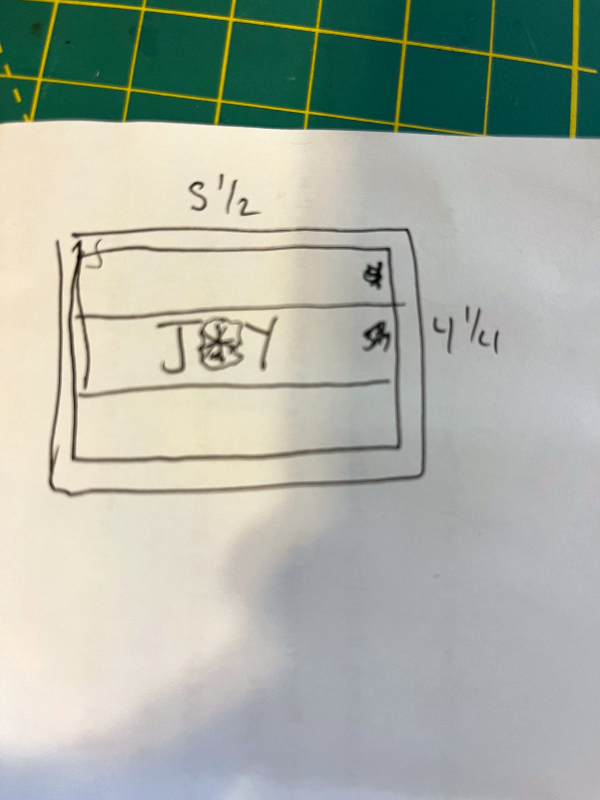
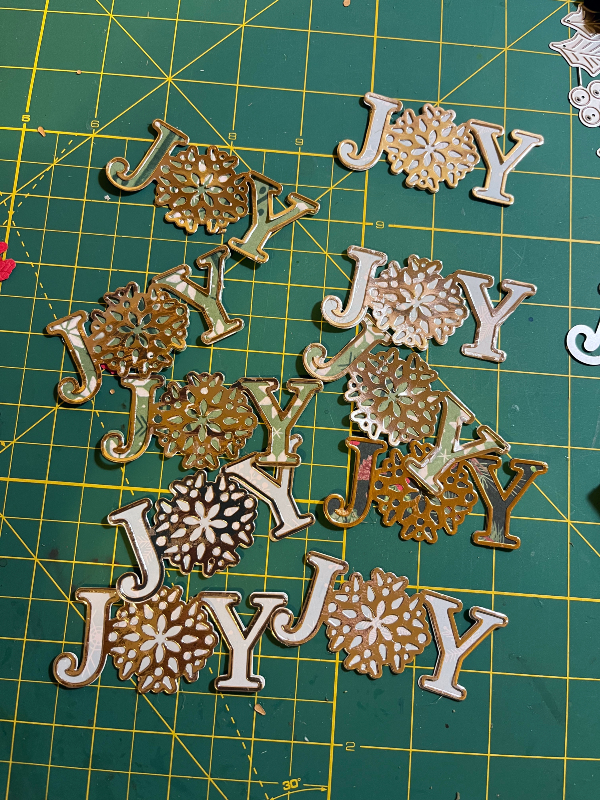
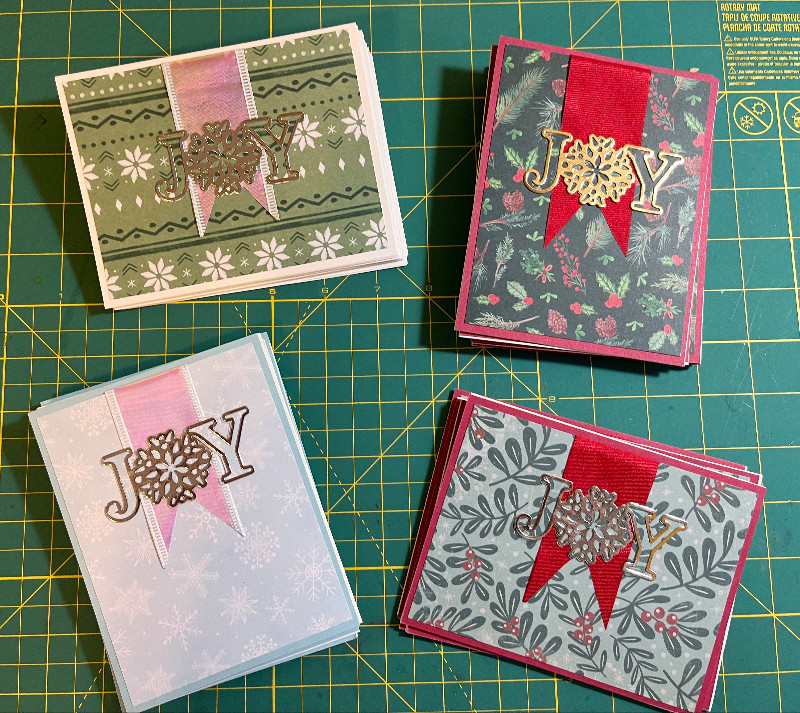
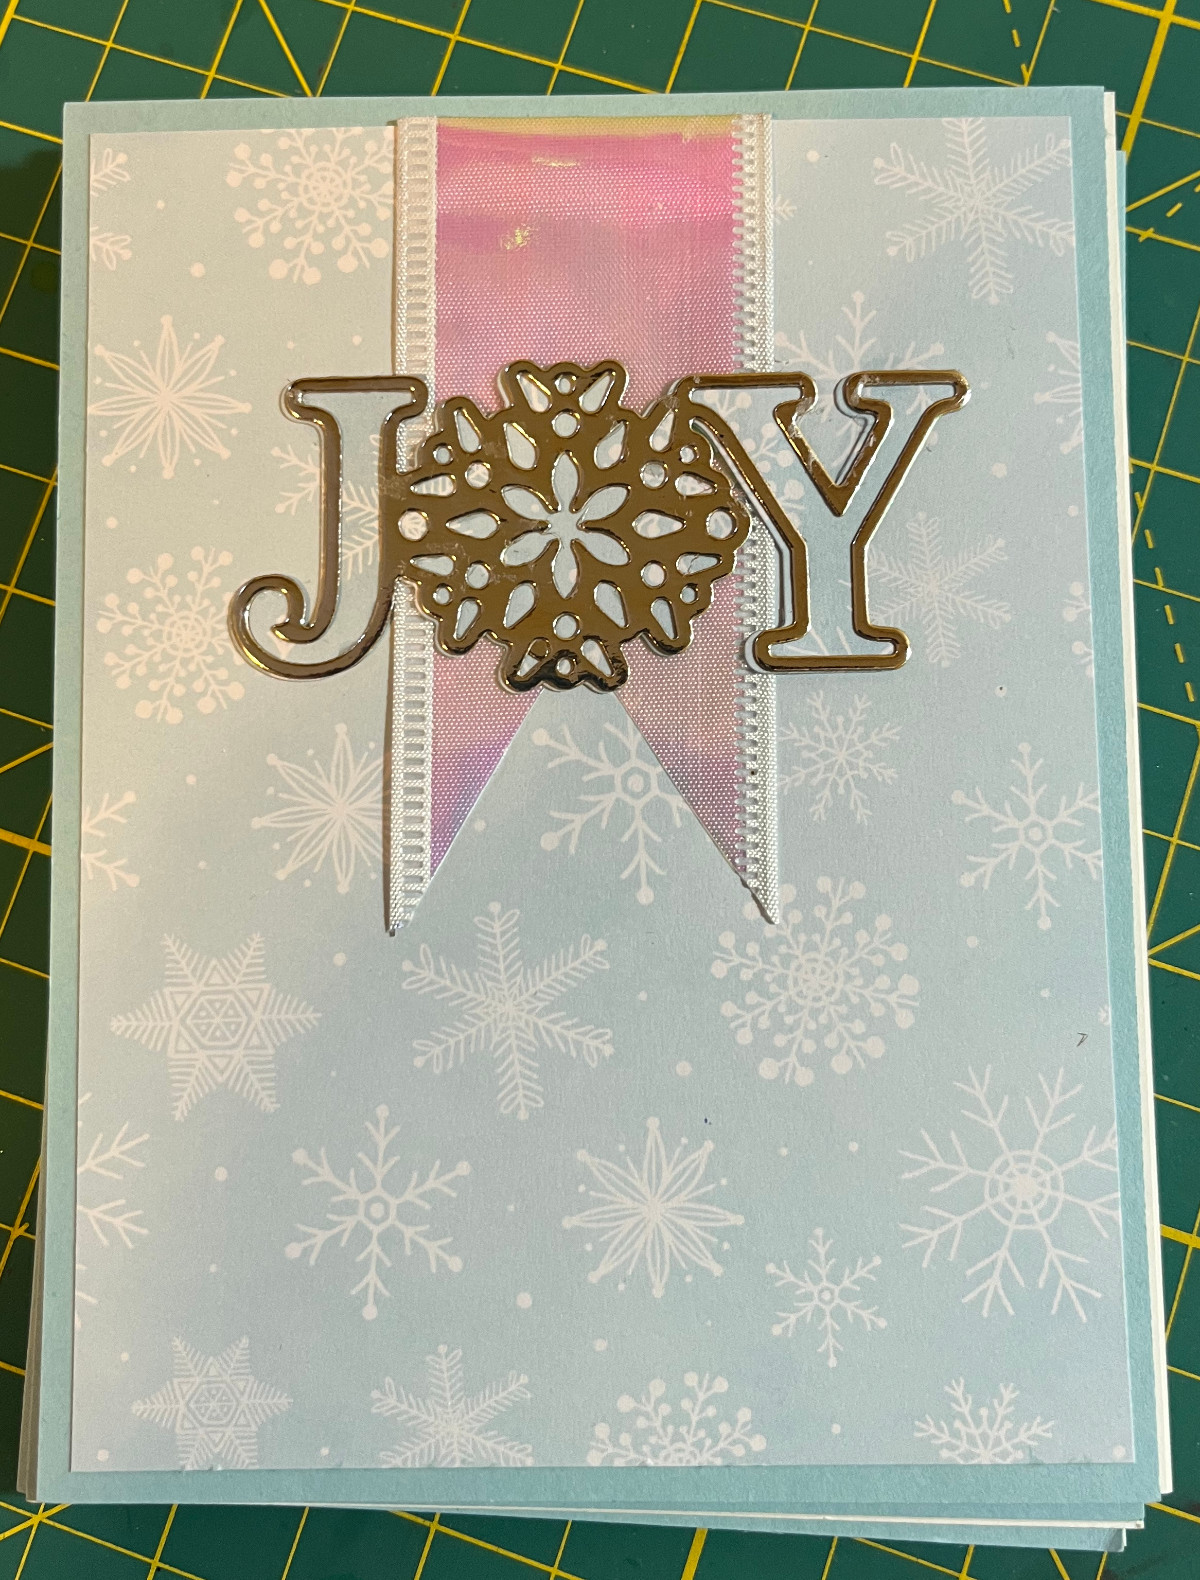
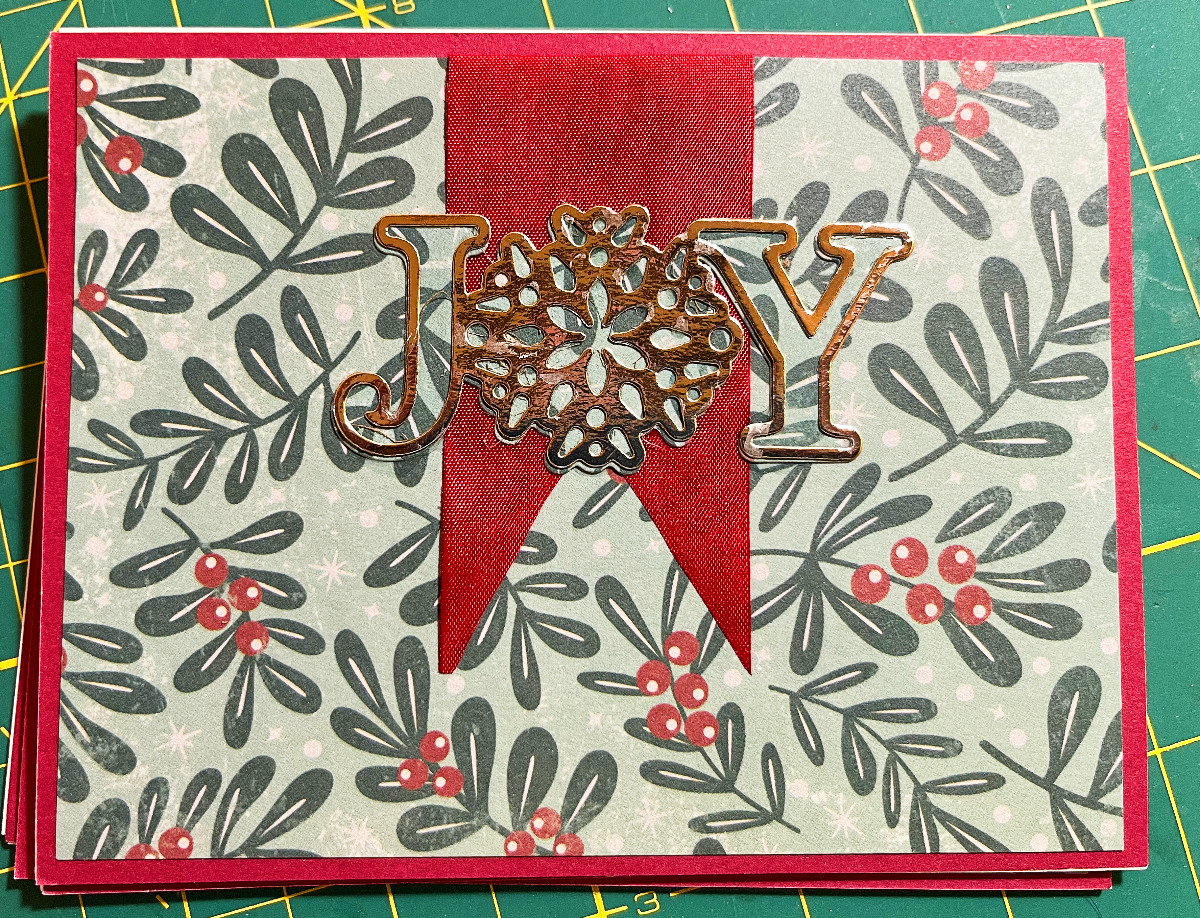
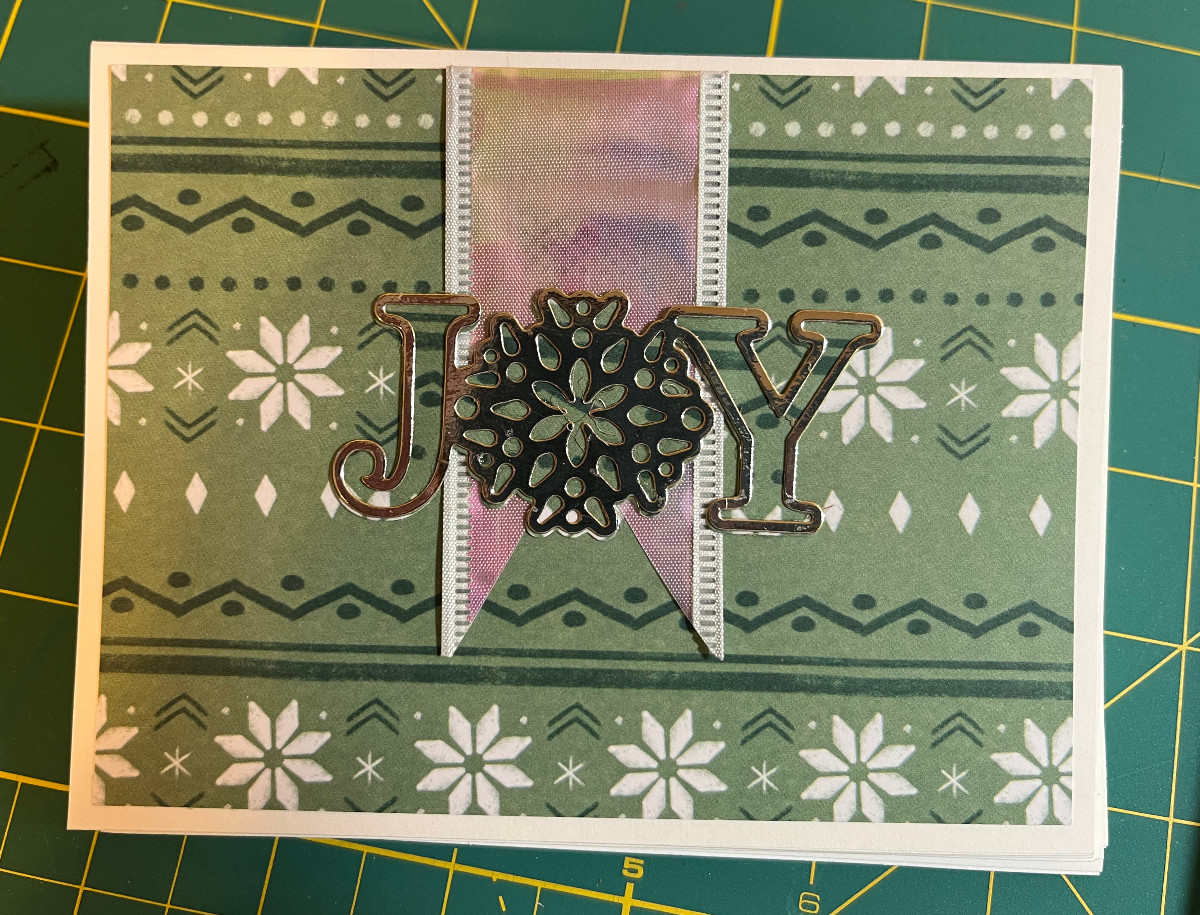
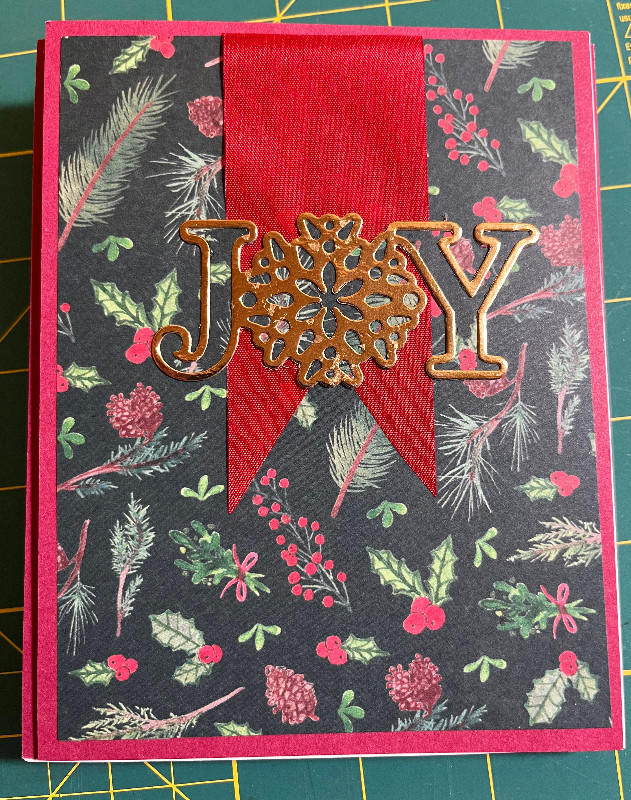
I wanted to create the same basic design with different themes, because not everyone observes a holiday in December. But everyone needs some Joy. I had purchased a die set of the word JOY with a snowflake as the O, and a shadow layer to go beneath it. Perfect.
My initial concept was a landscape-oriented card. The front of the card would be a red or green panel, topped with wintery patterned paper. A gold or silver strip of cardstock would bisect the patterned paper, with the JOY cutout on top of the metallic strip. I experimented with embossing a pattern on the metallic strip but decided against it because I didn’t want the card to look too busy.
For the patterned paper I used a pad that I’ve had for a few years now. For being a summer girl, I have a lot of wintery paper. I settled on four patterns: a blue snowy design, a green “sweater” pattern, mistletoe and snow on a light green background, and mistletoe and holly on black.
While in a store I saw two rolls of ribbon: one red and one white with a holographic shimmer on it and immediately changed my best-laid plans. The ribbon became the main decoration instead of the metallic strip.
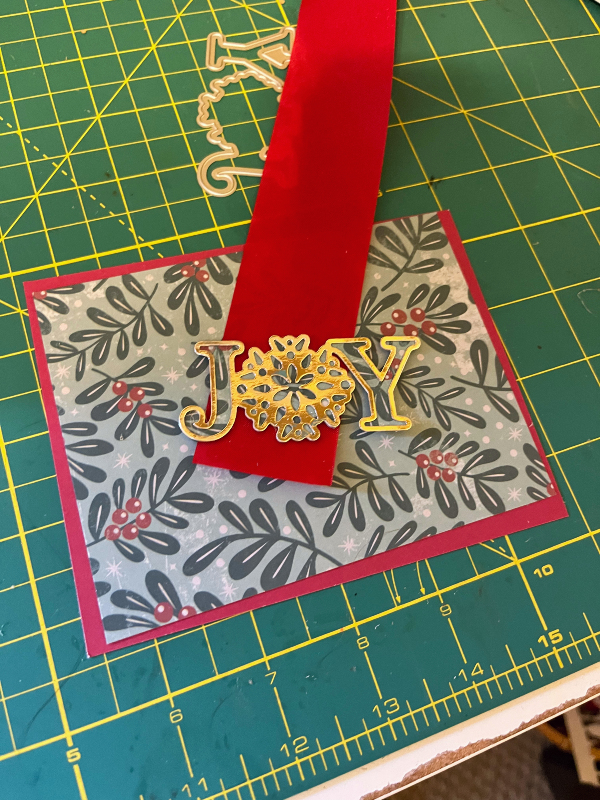
I decided to cut the JOY from the metallic strips that I had already precut and use the same patterned paper I was using for the card as the shadow layer instead.
Like this:
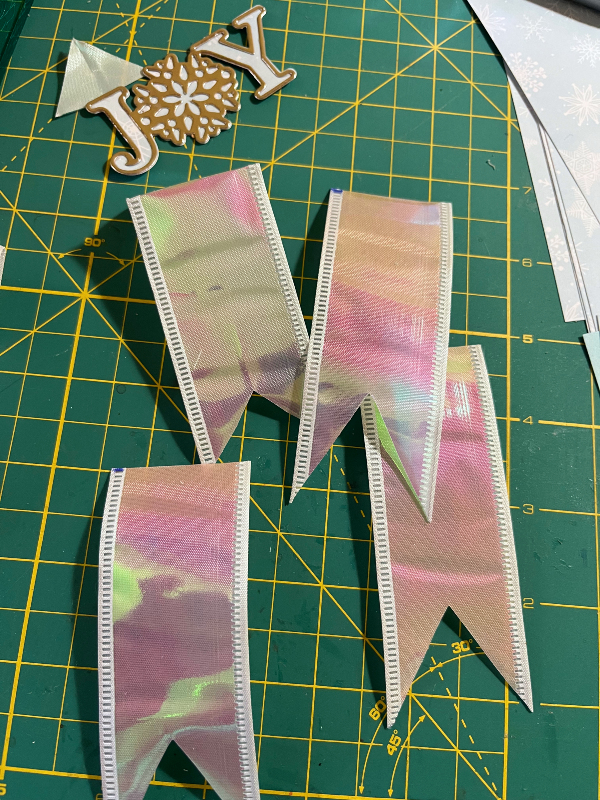
Next, I cut the ribbon strips and added the dovetail (V-cut) to the bottom. Not only does it make the ribbon look finished, but as I learned more than 30 years ago while working at the JCPenney gift wrap counter, it also prevents fraying.
Because I used the same patterned paper below the JOY as was used in the background, it almost looks like JOY is cut through the ribbon itself.
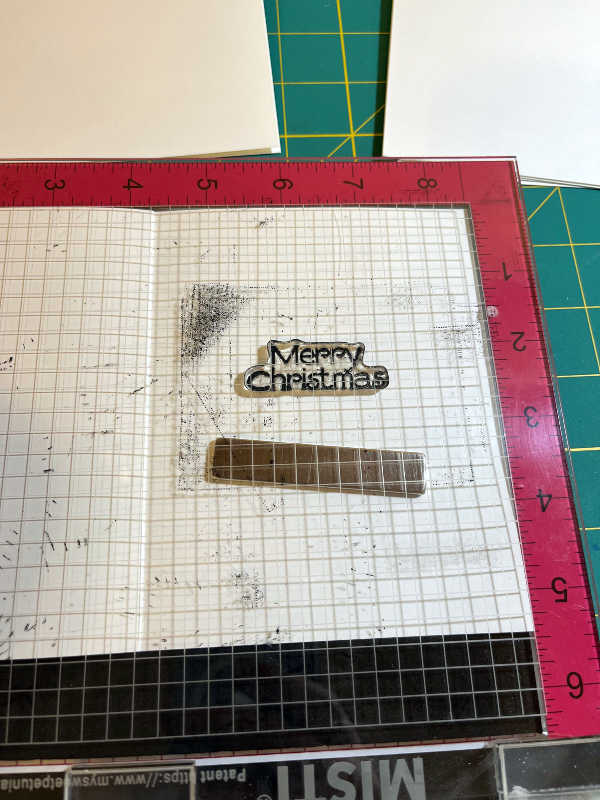
I varied the sentiments on the inside. Some said Merry Christmas, some were Winter Greetings, and the rest were Peace, Love, Joy. This is where the MISTI stamping took came in handy.
And here they are!
Here’s a closer look:
I’m thrilled with how they turned out. The elegance is a departure for me, and despite making such a large batch, they were genuinely fun to assemble.
I had a lot of fun getting back into card making regularly in 1015. Being creative — even in just hour-long spurts on the weekends — helps me feel more balanced in the rest of my very non-creative life. I’m proud of the cards I made this year. While mostly sticking to the supplies I already had on hand, I experimented with different styles, used my watercolors, and even blended stamping inks. I went cute. I went elegant.
And I can’t wait to see where I go this year!
If you want to see the tools and supplies I reach for most often, I’ve collected them in one place on Benable. (some of those are affiliate links)
My 2025 cards:
October: Candy corn
September: Fall wreath
August: Watercolor flowers
July: Watermelons
June: Love


These are stunning!
Thank you so much!